Connecting remotely to your Raspberry Pi has never been easier. Whether you're a tech enthusiast or a seasoned developer, mastering remote connections is essential for managing your projects from anywhere in the world. In this guide, we'll show you how to set up remote access step by step, ensuring your Pi stays secure while giving you full control. Let's dive right in, shall we?
Picture this: you're chilling on your couch with a cup of coffee, and your Raspberry Pi is tucked away in your home office. Wouldn't it be cool if you could control it without leaving your comfy spot? Remote access makes this possible, and we're here to teach you how. This isn't just about convenience; it's about efficiency and flexibility in your tech projects.
Now, before we get into the nitty-gritty, let's set the stage. This guide assumes you have a Raspberry Pi up and running. If you're new to the Pi world, don't worry—we'll walk you through everything you need to know. By the end of this, you'll be a pro at using remote connect to Raspberry Pi. Ready? Let's go!
- Remote Iot Monitoring Via Ssh A Comprehensive Guide To Download And Implementation
- Best Remote Iot Vpc Ssh Raspberry Pi Free Your Ultimate Guide
Why Remote Connect to Raspberry Pi Matters
First things first, why should you even bother with remote connections? Well, imagine being able to troubleshoot your Pi from a coffee shop or accessing your home server while traveling. Sounds pretty sweet, right? Remote access gives you the power to manage your Pi without physical access, which is crucial for projects like home automation, media servers, or even web hosting.
Here are a few reasons why remote connect is a game-changer:
- Access your Pi from anywhere in the world.
- Streamline project management without needing a monitor.
- Improve security by configuring remote access properly.
- Enhance flexibility for multitasking and collaboration.
And let's not forget the convenience factor. Who wants to lug around a keyboard and monitor just to check on their Pi? Remote connect eliminates that hassle, making your life so much easier.
- Remote Iot Platform Ssh Raspberry Pi Free Your Ultimate Guide To Secure Connectivity
- Mastering Remote Iot Vpc Ssh With Raspberry Pi On Aws Free Download Guide
Setting Up Your Raspberry Pi for Remote Access
Before you can start connecting remotely, you'll need to prep your Raspberry Pi. This involves configuring a few settings and installing necessary software. Don't worry—it's not as complicated as it sounds. Follow these steps, and you'll be good to go:
Step 1: Update Your Raspberry Pi
Always start by updating your Pi to ensure everything runs smoothly. Open your terminal and type the following commands:
sudo apt update && sudo apt upgrade
This will update your Pi's software packages and ensure compatibility with remote tools. It's like giving your Pi a fresh coat of paint before hitting the road.
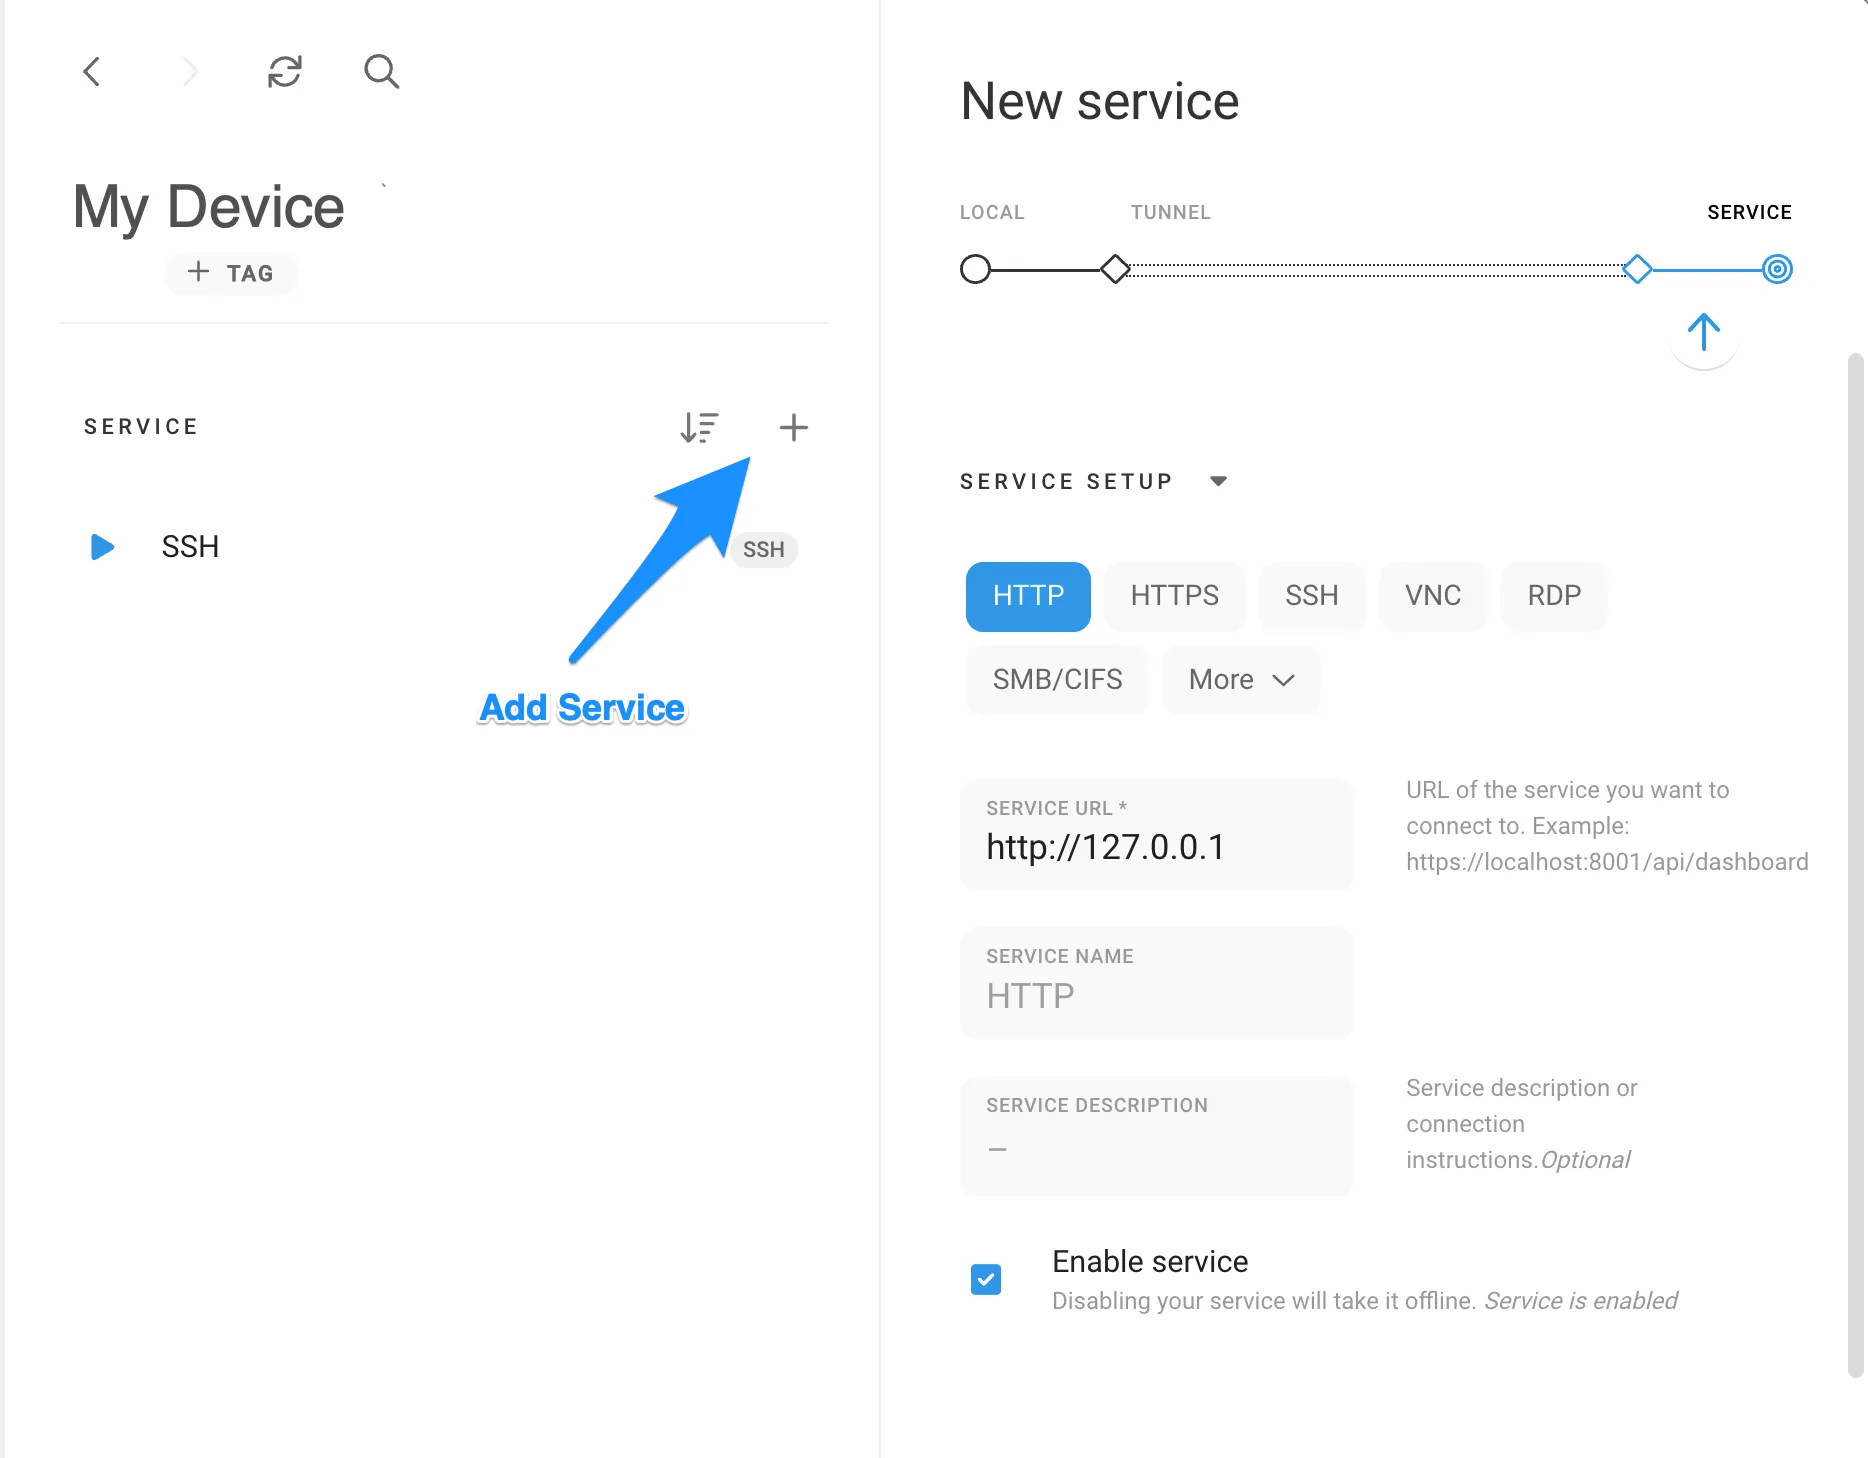
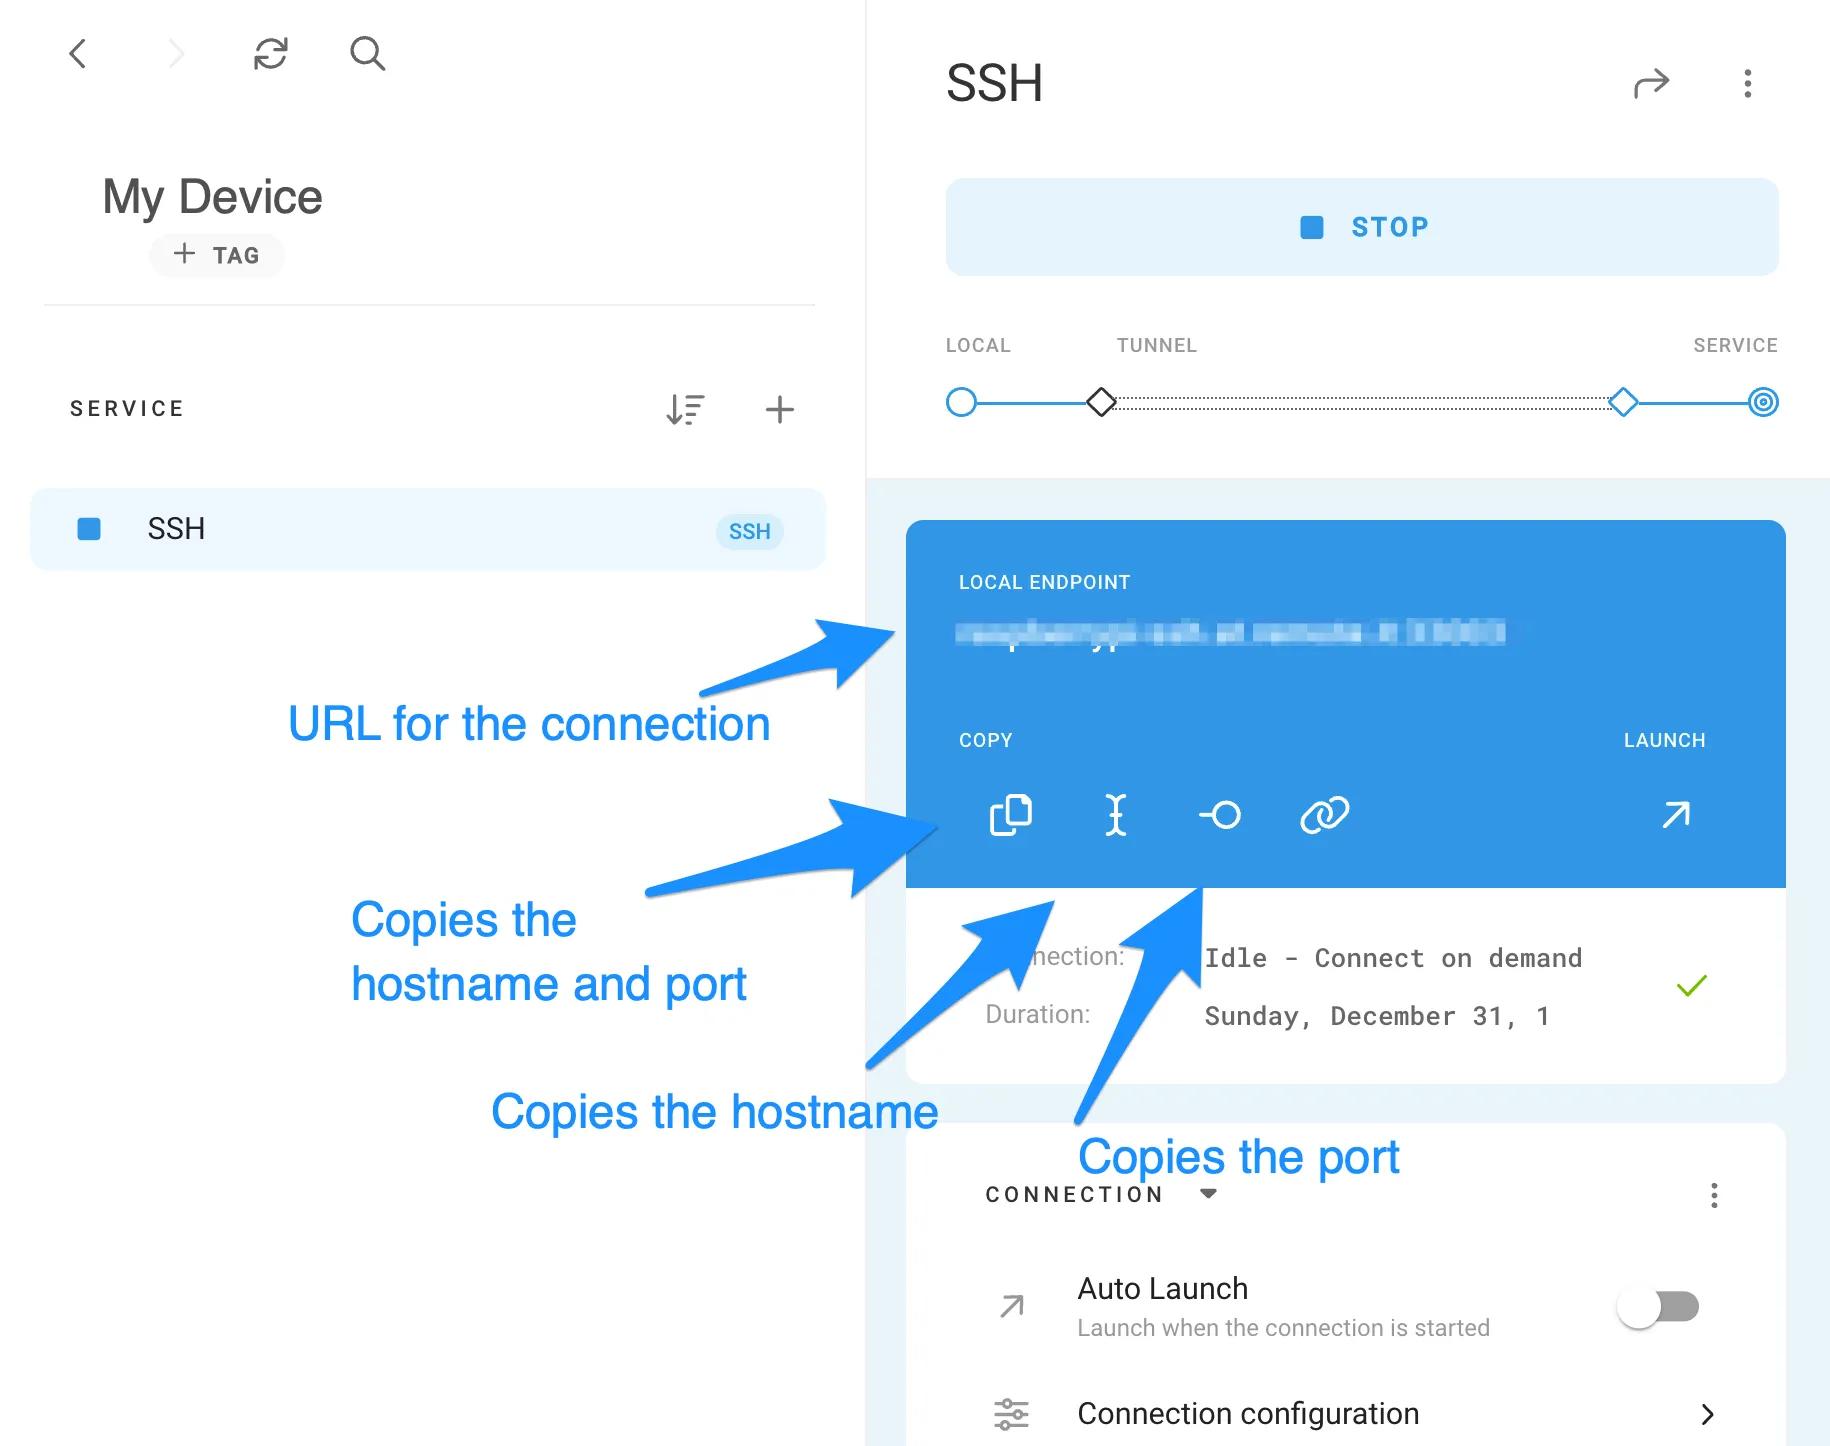
Step 2: Enable SSH
SSH (Secure Shell) is the backbone of remote connections. To enable it, head over to the Raspberry Pi Configuration tool:
- Open a terminal and type: sudo raspi-config
- Select "Interfacing Options" and hit Enter.
- Choose "SSH" and enable it.
- Exit the config tool and reboot your Pi: sudo reboot
Once SSH is enabled, your Pi is ready to accept remote connections. Easy peasy!
Understanding SSH and Its Importance
SSH might sound like a fancy tech term, but it's actually quite straightforward. Think of it as a secure tunnel between your computer and your Raspberry Pi. It allows you to send commands and transfer files without worrying about hackers sniffing your data.
Here's why SSH is important:
- It encrypts all data transferred between devices.
- It provides a secure way to manage your Pi remotely.
- It supports various authentication methods, including passwords and keys.
By using SSH, you're not only making your life easier but also protecting your Pi from unauthorized access. And who doesn't love a bit of extra security?
Using PuTTY for Windows Users
If you're rocking a Windows machine, PuTTY is your best friend for SSH connections. Here's how to use it:
Step 1: Download PuTTY
Head over to the official PuTTY website and download the installer. Once installed, fire it up and follow these steps:
- In the Host Name field, enter your Pi's IP address.
- Set the Port to 22 (default for SSH).
- Choose "SSH" as the connection type.
- Click "Open" to start the connection.
Voilà! You're now connected to your Pi via PuTTY. It's like having a virtual terminal right on your desktop.
Step 2: Secure Your Connection
While PuTTY is great, it's always a good idea to beef up your security. Consider using SSH keys instead of passwords to prevent brute-force attacks. Here's how:
- Generate an SSH key pair using PuTTYgen.
- Copy the public key to your Pi's authorized_keys file.
- Disable password authentication in your SSH config file.
With SSH keys in place, your connection is as secure as Fort Knox.
Connecting via macOS or Linux
For macOS and Linux users, life is even simpler. Both operating systems come with SSH built-in, so you don't need any extra software. Here's how to connect:
Step 1: Open Terminal
Fire up your terminal app and type the following command:
ssh pi@your_pi_ip_address
Replace "your_pi_ip_address" with the actual IP of your Pi. You'll be prompted to enter your password, and boom—you're in!
Step 2: Enhance Security with SSH Keys
Just like on Windows, SSH keys are your best bet for securing your connection. Generate a key pair using the ssh-keygen command and copy the public key to your Pi:
ssh-copy-id pi@your_pi_ip_address
Now you can log in without needing a password every time. How's that for convenience?
Advanced Techniques: Setting Up a Static IP
Having a static IP for your Raspberry Pi can simplify remote connections. Instead of hunting for the IP every time, you'll always know where to find it. Here's how to set it up:
Step 1: Find Your Current IP
Use the ifconfig command to find your Pi's current IP address. Note it down—we'll need it later.
Step 2: Edit the dhcpcd Config File
Open the dhcpcd config file using nano:
sudo nano /etc/dhcpcd.conf
Add the following lines at the bottom:
interface eth0
static ip_address=your_static_ip
static routers=your_router_ip
static domain_name_servers=your_dns_server
Save the file and reboot your Pi. Your static IP is now ready to rock!
Troubleshooting Common Issues
Even the best-laid plans can go awry sometimes. If you're having trouble connecting, here are a few tips to get you back on track:
- Double-check your Pi's IP address.
- Ensure SSH is enabled on your Pi.
- Verify your firewall settings allow SSH traffic.
- Try resetting your SSH keys if authentication fails.
If all else fails, consult the Raspberry Pi forums or documentation. Chances are, someone else has faced the same issue and found a solution.
Security Best Practices for Remote Connections
Security should always be a top priority when setting up remote access. Here are a few tips to keep your Pi safe:
- Use strong, unique passwords for your Pi.
- Enable two-factor authentication if possible.
- Limit SSH access to specific IP addresses.
- Regularly update your Pi's software and firmware.
By following these best practices, you'll minimize the risk of unauthorized access and keep your projects safe.
Conclusion: Mastering Remote Connect to Raspberry Pi
And there you have it—a comprehensive guide to using remote connect to Raspberry Pi. From setting up SSH to securing your connections, we've covered everything you need to know. Remember, remote access isn't just about convenience—it's about empowering you to manage your projects effectively from anywhere in the world.
So what are you waiting for? Grab your Pi, fire up your terminal, and start exploring the world of remote connections. And don't forget to share this guide with your fellow tech enthusiasts. Together, we can make the Raspberry Pi community stronger and more connected than ever!
Table of Contents
- Why Remote Connect to Raspberry Pi Matters
- Setting Up Your Raspberry Pi for Remote Access
- Understanding SSH and Its Importance
- Using PuTTY for Windows Users
- Connecting via macOS or Linux
- Advanced Techniques: Setting Up a Static IP
- Troubleshooting Common Issues
- Security Best Practices for Remote Connections
- Conclusion: Mastering Remote Connect to Raspberry Pi
- Comprehensive Ssh Remoteiot Tutorial Your Ultimate Guide To Secure Connections
- Best Ssh Iot Anywhere For Raspberry Pi Free Unlocking Remote Access Potential